Account Setup and Deploy
Setting up your account
With LTIAAS, setting up an LTI® API for your company is easy. LTIAAS hosts a private API service that you can use to connect LTI® tools with LMSes. Getting started is free and easy.
This guide will walk you through creating an account and activating your API in the LTIAAS Portal.
Step 1. Log in to the LTIAAS portal
All LTIAAS services are managed via the customer portal. To access the portal, please log in using either your email address or Google account. If an account doesn't exist, it will be created for you.
Step 2. Create new account
We have two account types that we support: An LTI® Tool (a web application that is accessed from an LMS) or an LTI® Platform (the LMS itself). The LTIAAS portal is only automated to set up LTI® Tools.
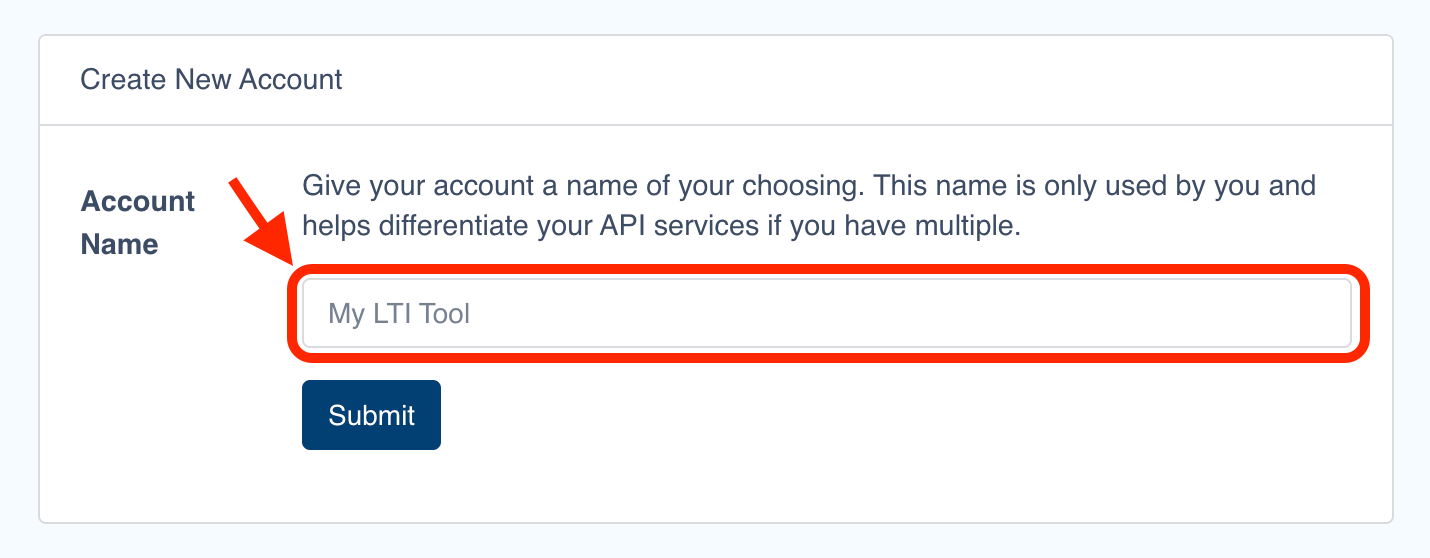
On the 'Create New Account' screen, you are asked to provide a name. This name is only use by you. Some customers have several accounts, so it is helpful to have easily identifiable names for each.
If you already have at least one account, you can add another account by clicking on the + Add Account button on the Portal home page.
Step 3. Create your plan
On the next screen, you get to choose the options for your plan. Options can be selected by clicking the Select button below each plan option.
Fore more information about our plans and pricing, please visit our pricing page.
Each LTIAAS account has a unique subdomain of ltiaas.com (i.e. your.ltiaas.com) that is used to access the API and register with LMSes. LTIAAS give you the option to create what we call a "vanity URL". If you want to have your own domain point to LTIAAS servers (i.e. lti.yourdomain.com), please choose a plan with the Custom Domain option.
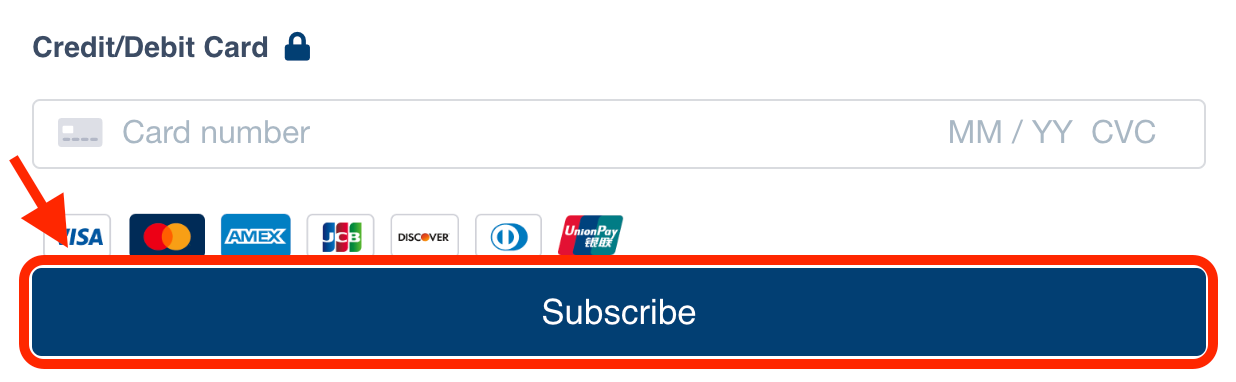
Once you have selected your plan options, we ask that you enter in your credit card to activate the subscription. If a credit card is not an available option for payment, please reach out to us. We can accommodate most payment methods with manual intervention. If you are choosing our free tier, no credit card is required.
When the form is complete. Click the Subscribe button.
After subscribing, you can change your subscription and billing information at any time without an interruption in service. Just click on the Billing link in the portal for this account.
Step 4. Set your API settings
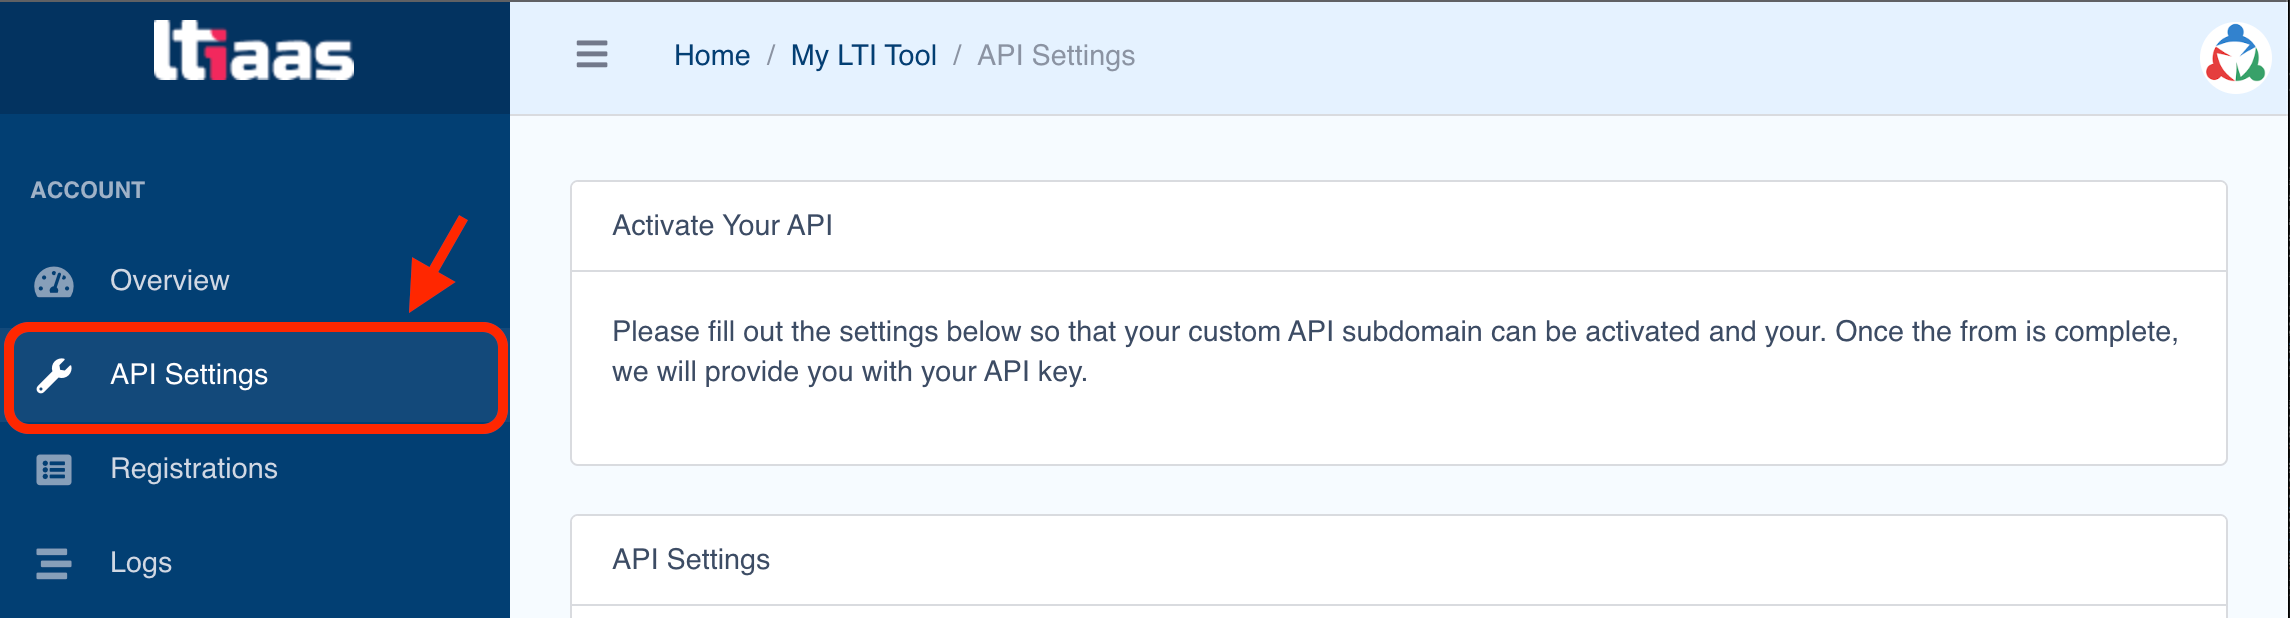
Once you have created your account, the next step is to set up your API. You should be guided to the API Settigns page. If not, please click on the API Settings link on the sidebar.
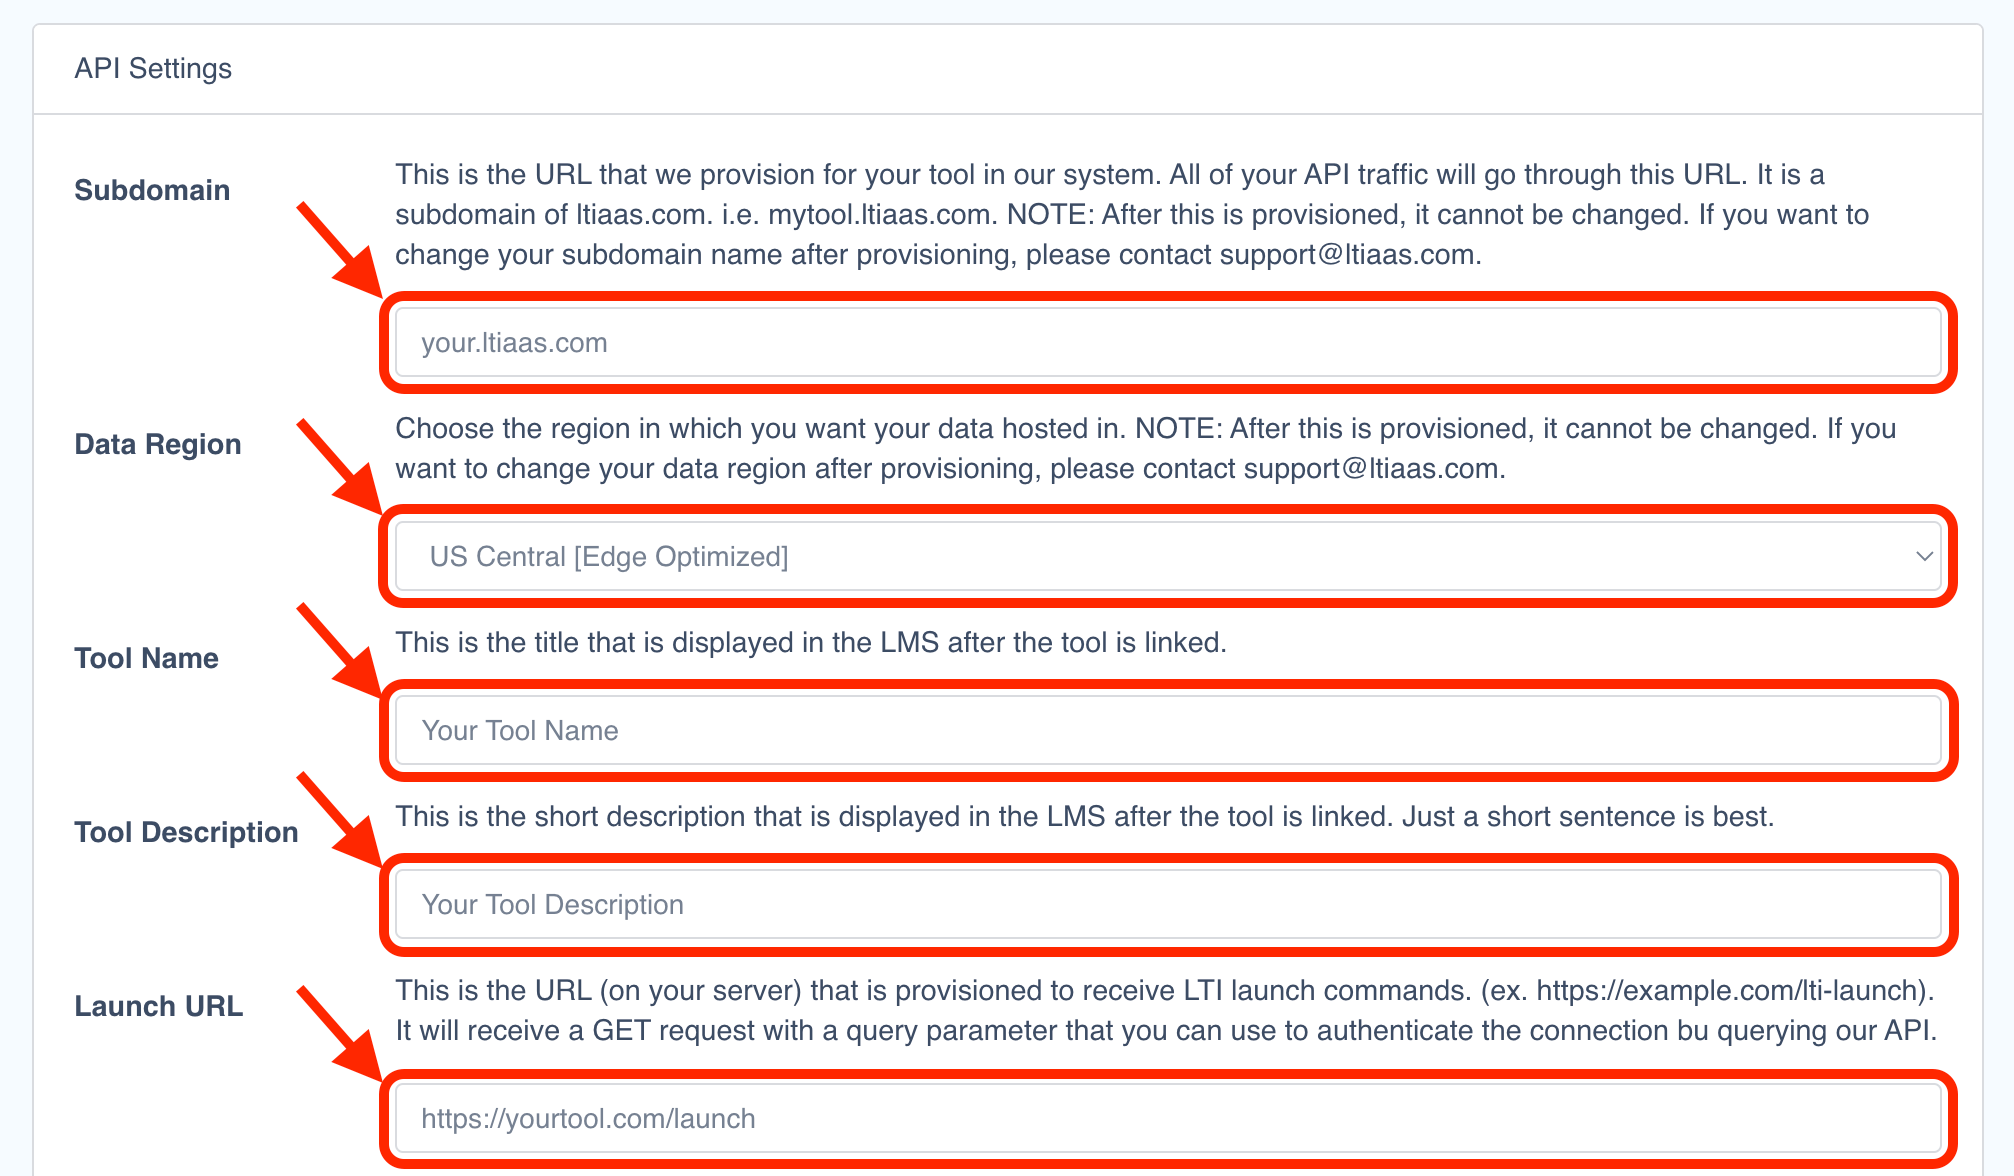
You will be asked to fill in the API settings.
All the API settings can be changed at any time. However, the zone, once set, cannot be changed without contacting support.
Here's a description of the API settings that can be set:
| Setting | Description |
|---|---|
| Data Region | The region in which you want your data hosted in. After this is provisioned, it cannot be changed. If you want to change your data region after provisioning, please contact support@ltiaas.com. If GDPR compliance is a concern, our EU servers are specifically designed to meet that compliance and fully reside within the EU. |
| Subdomain | This is the URL that we provision for your tool in our system. All of your API traffic will go through this URL. It is a subdomain of ltiaas.com. i.e. mytool.ltiaas.com. If you chose a plan with the Custom Domain option, you will be able to enter in a fully-qualified domain that you have DNS control over. |
| Tool Name | This is the title that is displayed in the LMS after the tool is linked. |
| Tool Description | This is the short description that is displayed in the LMS after the tool is linked. Just a short sentence is best. Each LMS displays this differently. |
| Launch URL | In order for basic LTI® launch to work, you need to set this setting. This is the URL, hosted by you, that users will be directed to when they click the link to your activity in the LMS. |
| Deep Linking URL | In order for Deep Linking to work (if you choose it as an option when creating the account), you need to provide this URL. This URL, hosted by you, is the location that that users (probably teachers) will be directed to when they click the option to "choose an activity" when adding your tool into a course. |
| Logo URL | The URL to your tool's logo that will be shown in the LMS (through Dynamic Registration). If Dynamic Registration is not enabled or used, this logo is still shown to the user in the unlikely event of an error during the LTI® launch process. Recommended size: 128x128px. This should be a URL to an image hosted by you. |
| Dynamic Registration Auto-Activation | Enabling this will activate all registrations done through the Dynamic Registration API, If Dynamic Registration is enabled. If you want to approve every activation request first (i.e. after the customer pays you), then leave this disabled. |
After filling in the API settings form (as shown below), click the submit button at the bottom of the form.

Note: The last two sections displayed in this guide: Deep Linking Settings and Dynamic Registration Settings will only appear if you selected those features in step 3.
Step 5. Deploy!
Any time you make a change to the API settings, you need to deploy those changes to the LTIAAS cloud. The LTIAAS Portal will detect when these settings change and will display a message (shown below) asking you to deploy the settings change.
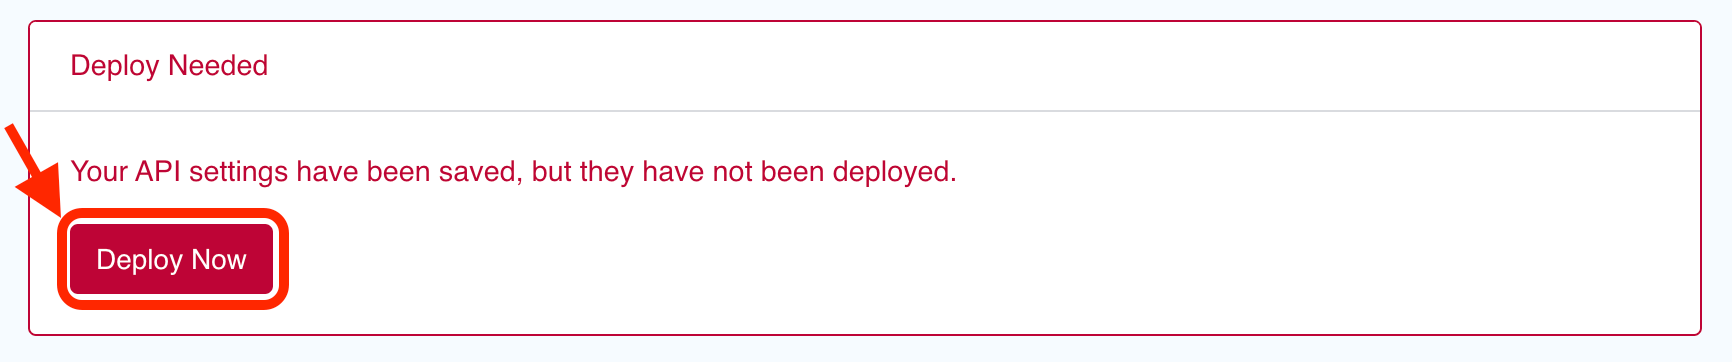
Clicking on the Deploy Now button will trigger the settings to propagate to the LTIAAS cloud service. Typically, changes will be available in about 10 seconds. But in rare cases, it may take up to 5 minutes for the new settings to be deployed. In the process of deploying the changes, your private API may become unavailable for a few seconds.
Step 6. Get your API key
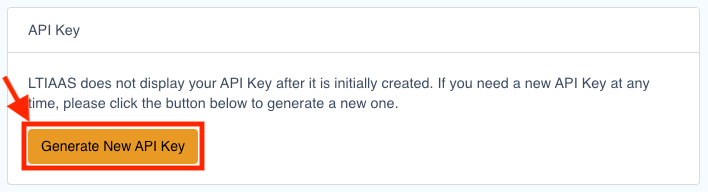
After your first deploy, you need to get an API key. Click the Generate New API Key button.
Once the API key is generated, your private API key will become visible.
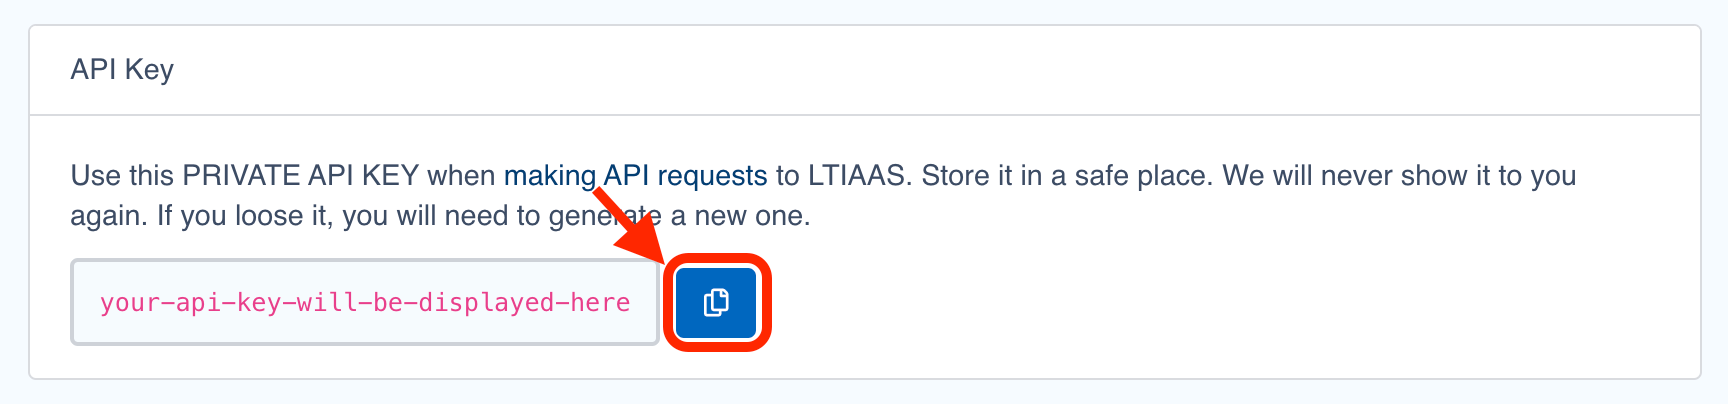
Click on the button to copy this key to your clipboard. This key should be used when making API requests to LTIAAS.
After generating your API key, LTIAAS will never show it again. If you loose you key, you will have to generate a new one.
Step 7. Test the API
LTIAAS serves a list of public keys for all the platforms registered to your service. You can use the /lti/keys endpoint to get this list. It is also a good first test to ensure the LTIAAS service is accessible (from behind a firewalled server, for example). You can access this endpoint with any web browser by navigating to https://your.ltiaas.com/lti/keys, or use the cURL tool:
curl https://your.ltiaas.com/lti/keys
Where your is the subdomain you chose in step 5.
A new API with no registrations should return an empty array called 'keys':
{"keys":[]}
Next steps
Now you are ready to setup your LTI® tool in any LMS of your choice. Please see the LMS Setup guide for more information.